
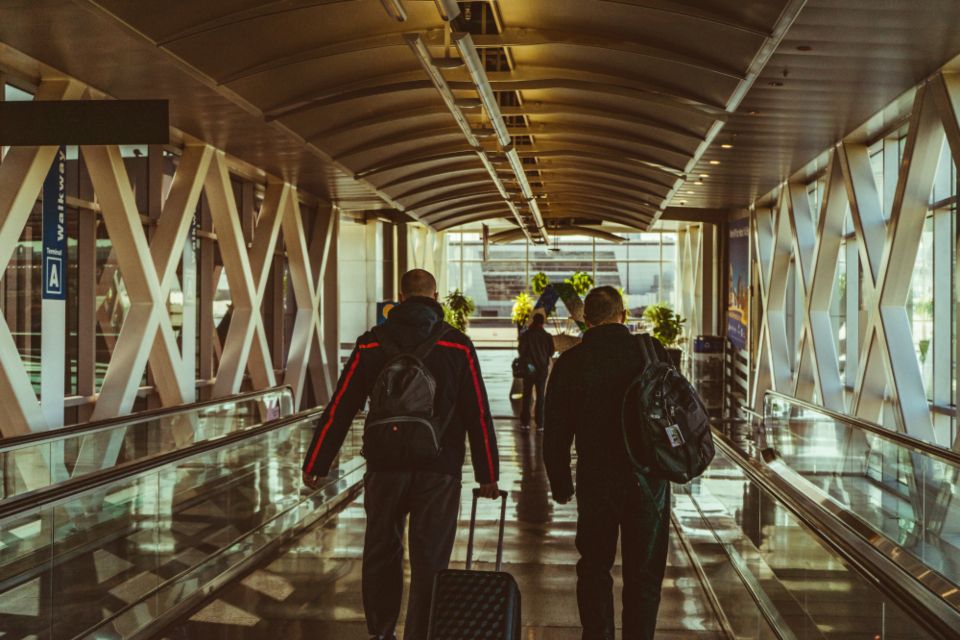
A first flight can seem daunting right up until you've done it — after that, it quickly feels ordinary. Every year hundreds of millions of people take to the air, and airports are built to cope with passengers who have never set foot in one. What helps most is knowing what comes next at each stage. This walkthrough covers the whole trip, from purchasing your ticket to collecting your luggage on arrival, including the small details regular travelers no longer think about.
Buying Your Ticket
Begin with the basics: where you are leaving from, where you are going and when. Compare options on a flight search site — or give our agents a call. On a first trip, a nonstop or an easy single-connection itinerary is worth more than the very lowest price. Paying a bit extra for a direct flight buys convenience and a lot less stress while you're still learning the ropes.
Look closely at the fare type. On most US carriers, Basic Economy limits whether you can bring a carry-on, pick a seat or change the booking. For a first flight, the regular Main Cabin or Economy fare nearly always justifies the extra $20 to $40 — you'll be glad of the carry-on and the reserved seat once you get to the airport.
Packing the Smart Way
Most airlines in the US let you bring one carry-on (a small suitcase that goes in the overhead bin) plus one personal item (a backpack, purse or laptop bag that slides under the seat ahead of you). Fit everything into those two and you skip checked bag fees of $35 to $50 each way.
- Put a spare outfit, a toothbrush and any must-have medication in your carry-on in case checked luggage runs late
- Carry-on liquids must be in containers no larger than 3.4 oz (100 ml), all fitting in one clear quart-size plastic bag
- Wear shoes you can slip off easily, since security may ask you to remove them
- Full-size bottles such as sunscreen, shampoo or contact lens solution belong in your checked bag
- Keep lithium batteries and power banks in your carry-on — never in checked luggage
Weigh any checked bags before leaving home. The usual limit is 50 pounds (23 kg), and bags between 51 and 70 pounds can cost $100 to $200 extra. A basic luggage scale runs about $10 and pays for itself on every trip.
The Day Before
Online check-in usually opens 24 hours ahead of departure. Use it to confirm your flight, pick or switch seats (if your fare allows), and print your boarding pass or add it to your phone. A mobile boarding pass is accepted everywhere and is simpler to juggle at the airport.
Double-check the airport, the terminal and the departure time. Big airports such as JFK, LAX and O'Hare have several terminals, and turning up at the wrong one can cost you the flight. Your booking confirmation and the airline's website both show the right terminal.
Fully charge your phone, and bring a portable battery if you face a long travel day — gate outlets aren't always free.
Getting to the Airport
Plan to arrive at least 2 hours ahead of a domestic flight and 3 hours ahead of an international one. That may feel like overkill, but it covers traffic, security queues and the simple reality that airports rarely move fast. With TSA PreCheck or Global Entry, you can cut 30 to 45 minutes from those times.
Once inside, follow the signs for your airline; the check-in desks (known as "ticketing") are grouped together. With a bag to check, head to the counter to check in and hand it over. With carry-on only, go straight to security using your mobile boarding pass.
Clearing Security
Security worries first-timers more than anything else, yet it runs more smoothly than it appears. Join the queue for your terminal and have your boarding pass and government-issued photo ID (driver's license or passport) in hand when you reach the officer.
- Take your laptop and any large electronics out and put them in their own bin
- Set your bags on the belt so they pass through the X-ray machine
- Pull the clear quart-size liquids bag out of your carry-on
- Clear your pockets — phone, wallet, keys and coins all go into a bin
- Remove your shoes, belt, jacket and watch and put them in a bin
- Step into the body scanner when asked and hold still with your feet on the marked spots
With TSA PreCheck, you can leave shoes, belts, laptops and liquids where they are. If you fly more than once or twice a year, the $78 five-year enrollment pays for itself many times over.
Waiting at the Gate
After security, follow signs to your gate, a letter-number code (such as B12 or T-23) shown on your boarding pass. Many airports link concourses with a train, shuttle or moving walkway, so allow time to get there. Check that the gate screen shows your flight, as gates sometimes change.
Listen for announcements once boarding begins. Passengers board by zone or group, which you'll find printed on your boarding pass; wait until yours is called. The gate agent then scans your pass and you head down the jet bridge to the aircraft.
Once You're On Board
Locate your seat using its row number and letter (12A, 17C and so on). Depending on the plane, window seats are A, F or K, while aisle seats are usually C, D, F or G. Put your carry-on in the overhead bin above your row or close by, and slide your personal item under the seat ahead of you rather than the one beside you.
After sitting down, buckle your seatbelt and stay put until the seatbelt sign goes off. The cabin crew will run through a safety briefing — listen even if you've flown before. Your phone must stay in airplane mode throughout, though Bluetooth headphones and Wi-Fi (where offered) can be used once you're in the air.
You may notice pressure building in your ears during takeoff and landing; yawning, swallowing or chewing gum will even it out. The thumps and sounds at those moments are entirely routine — the landing gear folding away, the flaps moving, the engines changing power.
After Landing
Stay seated until the seatbelt sign switches off. The aisle crowds up fast, and there's no reason to hurry. Take your carry-on down from the overhead bin and file off the aircraft with everyone else.
In the terminal, follow signs to baggage claim if you checked luggage, or straight to ground transportation if you didn't. Baggage claim consists of numbered carousels, and screens show which one matches your flight number.
Signs will then point you toward taxis, rideshare pickup, hotel shuttles, public transit or rental cars; most large airports offer all of them.
Flying Internationally
Trips abroad involve two extra stages. You may have to present your passport when you check in, and after you land you'll pass through immigration (passport control) and customs before getting to baggage claim. Keep your passport, any visas and required arrival forms handy. Queues can be long at busy times, so allow an extra hour at the arrival airport.
Habits That Make Any Flight Easier
- Store the airline's phone number in your contacts in case of delays or cancellations
- Pack snacks — onboard food is hit-or-miss and airport food costs a lot
- Get there early: arriving too soon is relaxing, arriving late is stressful
- Cabin air is very dry, so drink water before and during the flight
- Visit the restroom before you board, since the ones on the plane are cramped
- On long flights, stand up and walk around every 2-3 hours to keep your circulation going
If Something Goes Wrong
Delays and cancellations are part of flying. When a flight is canceled, the airline must either put you on the next available flight or give you a full refund. Long delays often come with meal vouchers, and on certain routes an overnight hotel. Our agents can help you sort out rebooking, especially on complicated itineraries — just call us.
There may seem to be a lot to keep track of on your first flight, but the whole process is built so that someone who has never done it can find their way. Take one step at a time, don't hesitate to ask gate agents and cabin crew for help, and remember that every passenger around you once flew for the first time too.